Do you want to start selling on Amazon, but the Amazon Seller Account setup step by step process feels confusing? You’re not alone. Every month, thousands of people try to start selling on Amazon India, and most of them get stuck somewhere in the registration process — wrong documents, GST confusion, or bank verification issues.
This confusion often pushes people weeks behind before they even list their first product. Every day you delay, competitors are already going live with their listings.
The good news is that Amazon Seller Central setup is actually a simple 7-step process — as long as you know the correct order and have the right documents ready. In this complete guide, we’ll walk you through the exact step-by-step process, with screenshots, so you can set up your Amazon seller account successfully without any confusion.
To complete Amazon Seller Central setup, visit the Amazon India seller signup page and register using your business email, PAN card, GST number, bank account details, and an active mobile number. Registration is free and usually gets approved within 24-48 hours, after which you can start listing your products.
What is Amazon Seller Central?
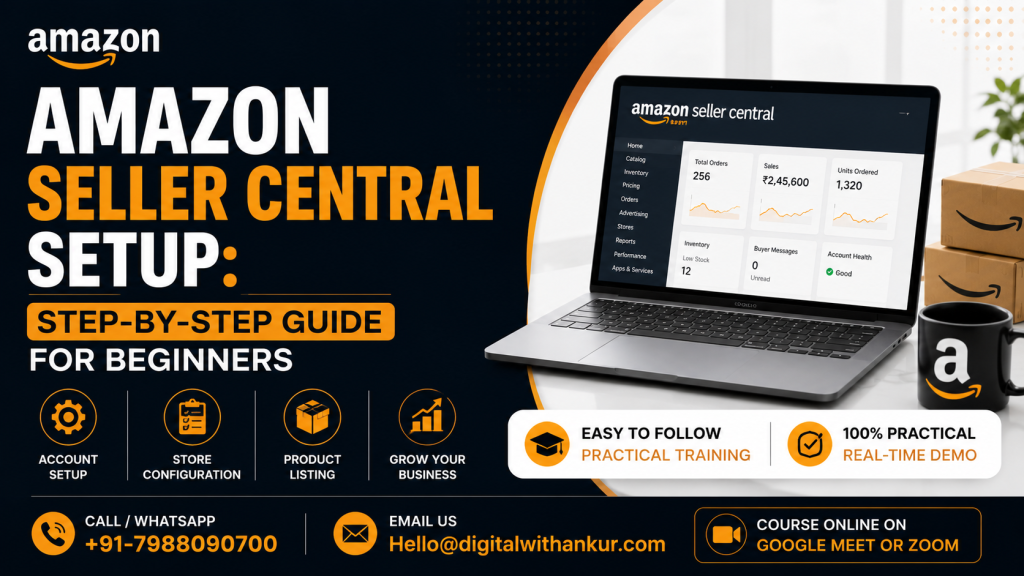
Amazon Seller Central is a free online dashboard where sellers can list, manage, and track their products — orders, inventory, payments, and customer queries are all handled from one place.
Amazon Seller Central Explained Simply
Think of Seller Central as the control room of your online store. Just like a physical shop has a cash counter, a stock register, and a customer book, Seller Central gives you a single dashboard where you can:
- List new products
- Track orders
- View payments and settlements
- Reply to customer questions
- Run ads and promotions
Who Should Complete Amazon Seller Account setup step by step
If you fall into any of these categories, Amazon Seller Central setup is essential for you:
- New entrepreneurs who want to start an online business
- Manufacturers or wholesalers looking for direct-to-customer selling
- Existing offline shop owners planning to expand online
- Students or freelancers who want a product-based side business
Documents Required for Amazon Seller Account
Before starting your Amazon Seller Central setup, keep these documents ready — this ensures your registration goes through without delays.
| Document | Why It’s Needed | Where to Get It |
|---|---|---|
| PAN Card | Identity and tax verification | Income Tax Department |
| GST Registration Number | Mandatory for most categories | GST Portal |
| Bank Account Details | For payment settlement | Your bank branch |
| Cancelled Cheque / Bank Statement | To verify your bank account | Your bank |
| Business Address Proof | To verify business location | Electricity bill / Rent agreement |
| Active Mobile Number & Email | OTP verification and communication | Personal or business contact |
Tip: If you don’t have a GST number and want to sell only in specific GST-exempt categories (like books or certain handicrafts), that’s possible. However, for a long-term Amazon business, GST registration is strongly recommended.
Amazon Seller Account setup step by step Process
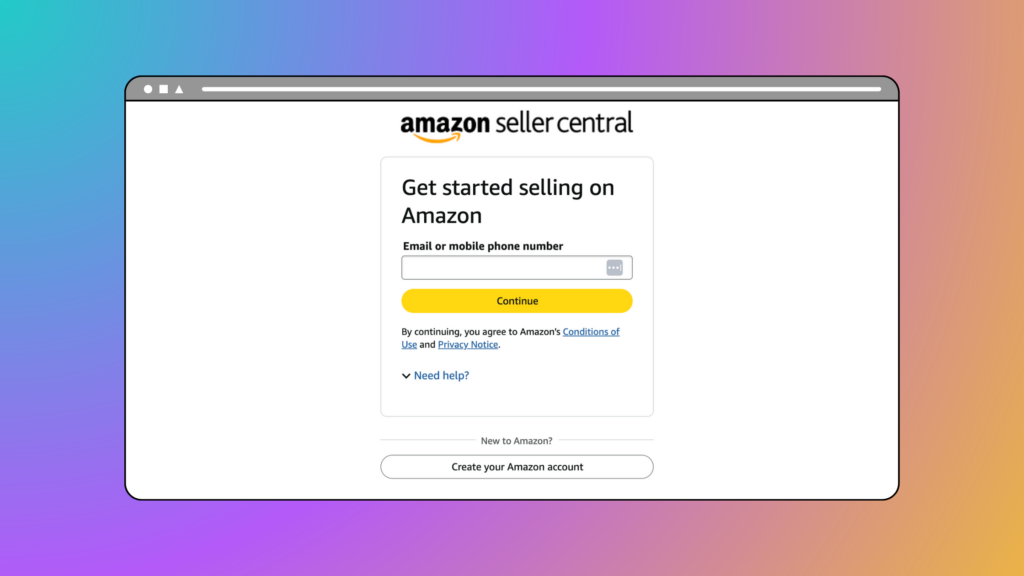
Step 1: Go to the Amazon Seller Signup Page
Start by visiting the official Amazon Seller Central signup page and clicking Start Selling or Register Now. Here, you’ll need to select your business type — Individual or Professional.
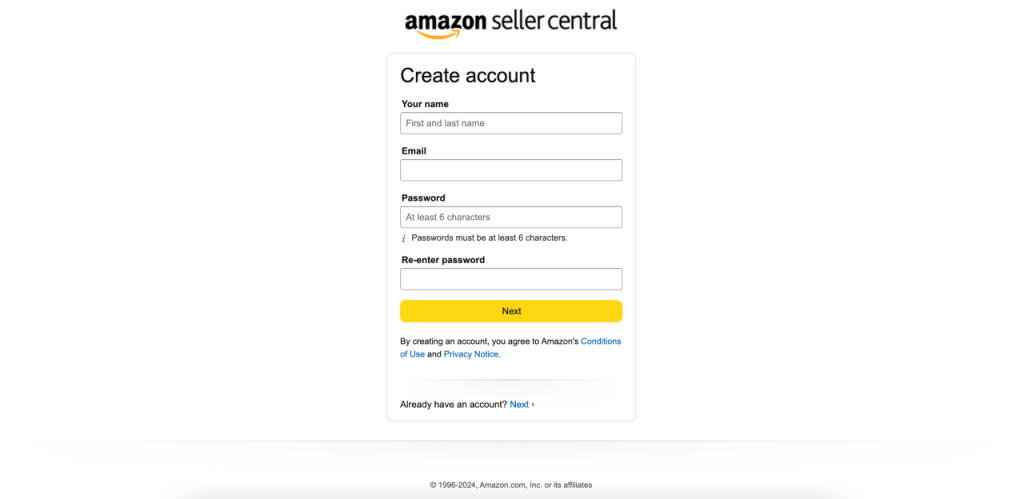
Step 2: Create a Business Email and Password
Enter your business email ID (a personal email works too if you don’t have a business one) and set a strong password. The OTP verification will be sent to this email, so make sure it’s active.
Step 3: Fill in Your Business Information
Here you’ll indicate whether you’re an Individual seller or a Registered Business. Enter your business’s legal name, address, and business type (Sole Proprietorship, Partnership, Private Limited, etc.).
Step 4: Verify Your PAN Card Details
Enter your PAN number — Amazon verifies this automatically. The name must match your PAN card’s exact spelling, or verification may fail.
Step 5: Add Your GST Number
Enter your 15-digit GST Identification Number (GSTIN). Amazon automatically verifies this GST number through the GST portal, so it needs to be active and correct.
Step 6: Add Bank Account Details
Enter your bank account number, IFSC code, and account holder’s name. This should be the same account where Amazon will settle your sales payments. A business-named bank account looks more professional, but an individual account is also accepted.
Step 7: Select a Product Category and Start Listing
In the final step, you decide which product category you want to sell in. Some categories (such as electronics, jewellery, or groceries) require special approval from Amazon — this is called category approval.
Individual vs Professional Amazon Seller Account — Which to Choose
| Feature | Individual Plan | Professional Plan |
|---|---|---|
| Monthly Fee | None (per-item fee applies) | Fixed monthly subscription |
| Listing Limit | Limited products | Unlimited products |
| Bulk Listing Tools | Not available | Available |
| Advertising Access | Limited | Full access (Sponsored Ads) |
| Best For | Beginners, fewer products | Serious sellers, growing business |
If you just want to test whether Amazon selling works for you, start with the Individual plan. Once you get serious and start scaling volume, upgrade to the Professional plan.
6 Common Mistakes Beginners Make During Amazon Seller Account setup step by step
- PAN and GST name mismatch — Both documents must have the exact same business/owner name
- Using a personal bank account without checking terms — Some banks or account types create settlement issues
- Selecting the wrong category — Attempting to list in restricted categories without approval leads to rejection
- Incomplete business address — Mismatched address proof and entered address delays verification
- Using an inactive mobile number — The most common reason for OTP verification failures
- Not optimizing listings after setup — Creating the account alone isn’t enough; a well-optimized listing is what actually drives sales
Expert Tip
After completing your Amazon Seller Account setup step by step, your very first priority should be to optimize your listing, not jump straight into running ads. A well-optimized listing is what improves your paid ads’ ROI — if the listing is weak, even the best ad spend won’t convert.
Want to Learn Amazon Selling Completely?
Setting up your account is just the first step — real growth comes from listing optimization, Amazon SEO, and FBA strategies. Our Amazon Seller Training Course teaches you all of this practically, with live batches in Delhi and online.
Explore Amazon Seller Course →
People Also Ask
How long does it take to create an Amazon Seller Central account?
It usually takes 24 to 48 hours, provided all documents are correct and verified. Sometimes, due to additional verification, it can take 3-5 days.
Is Amazon Seller Central setup free?
Yes, creating an Amazon seller account is completely free. Amazon only charges its referral fee and plan charges once you start selling.
Can I sell on Amazon without a GST number?
Some specific categories (like books) are GST-exempt, but for most categories, GST registration is mandatory.
How do I log in to Amazon Seller Central after setup?
Once setup is complete, you can log in directly to the Seller Central login page using your registered email and password.
Can I use my personal bank account for my Amazon seller account?
Yes, a personal bank account can be used, but using a business account is more professional and organized in the long run.
What’s the next step after Amazon Seller Central setup?
The next step after setup is creating your product listing, which includes the title, images, description, and pricing.
Other Important Questions Questions
How do I create an Amazon seller account?
Go to the Amazon seller signup page and register with your business email, PAN, GST, and bank details — the process is completed in 7 simple steps.
What do I need to start selling on Amazon?
You need a PAN card, GST number, bank account details, business address proof, and an active mobile number.
Key Takeaways
- Amazon Seller Central setup is a free, 7-step process that’s usually completed within 24-48 hours
- Keep your PAN, GST, bank details, and business address proof ready in advance
- The Individual plan is best for beginners; the Professional plan suits serious sellers
- Listing optimization after setup is what actually drives sales
- Avoiding common mistakes helps you avoid approval delays
Ready to Start Selling on Amazon?
From Amazon Seller Central setup to listing optimization, FBA, and Amazon SEO — learn it all practically in our Amazon Seller Training Course.